I have been doing a lot of work with presenting Jenkins data in dashboards. Jenkins by default does not come with a built-in database. All the data gets stored in the filesystem. However, Jenkins has a REST API that allows us to read data as json. I searched around the Googlesphere to see if anyone had figured out how to capitalize on this REST API for performing analytics and found almost nothing directly related to this.


Click on 'Available' and Filter for 'Logstash'. Checkbox and click install without restart.

 Indexer type: ELASTICSEARCH
Host name: http://localhost
Port: 9200
Username:
Password:
Key: /logstash/type

Check 'Send the console log to Logstash'.

Add a build step 'Execute shell'.


I was searching for open to public Jenkins instances to see how other people use Jenkins. I came across Elasticsearch's Jenkins site and I was pleasantly surprised. Elasticsearch is a json document storage application. There is a Jenkins plug-in that directly inputs data to Elasticsearch.
I implemented this proof of concept to perform Jenkins analytics with Elasticsearch as the document store and Kibana as the analytics engine. I automated the installation part using Docker. There are better ways to automate this. The steps given below do not require any knowledge of Docker.
Pre-requisites:
Vagrant
Oracle VirtualBox
Docker client installed on a running Ubuntu Vagrant box
Step 1: Create the docker containers
Execute the following docker commands to create the Docker containers needed for each of the apps.
#Create Elasticsearch container
docker run --name elasticsearch --hostname elasticsearch -p 9200:9200 -p 9300:9300 -d elasticsearch
#Create Jenkins container
docker run -p 8080:8080 -p 50000:50000 -v $HOME/jenkins_home:/var/jenkins_home --link elasticsearch:es --name jenkins -d jenkins
#Create Kibana container
docker run -e ELASTICSEARCH_URL=http://elasticsearch:9200 -p 5601:5601 --link elasticsearch:es --name kibana -d kibana
Step 2: Port forwarding from VirtualBox to host
Expose the following ports between the host computer and the virtual machine. Optionally, you may choose to add this to the Vagrantfile so that the port forwarding is automatically set whenever the Vagrantbox is started.
8080:8080
9200:9200
5601:5601

Step 3: Install the Jenkins Logstash plug-in
Click on Manage Jenkins and Manage Plug-ins

Click on 'Available' and Filter for 'Logstash'. Checkbox and click install without restart.

Step 4: Configure Jenkins to push data to Elasticsearch
Open http://localhost:8080/configure from a browser on the host computer. Look for the 'Logstash Plugin' section and fill out the following details.

Host name: http://localhost
Port: 9200
Username:
Password:
Key: /logstash/type
Step 5: Create a Jenkins job and configure
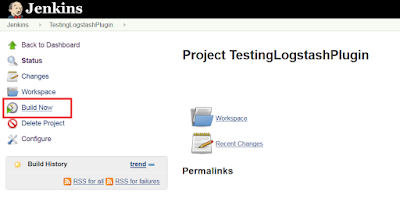
Create a new jenkins job.

Check 'Send the console log to Logstash'.

Add a build step 'Execute shell'.

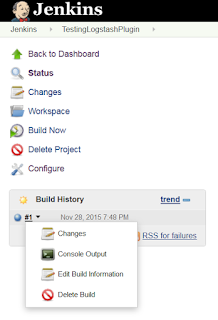
Step 6: Run Jenkins job
Run the job and see the console log.


Step 7: Verify data is getting to Elasticsearch
Open http://localhost:9200/logstash/_search?pretty in a browser and search for the jobname in the json.


Step 8: Get started with Kibana
I am still trying to figure out Kibana. Check out the visualize section and try to create a graph. I'll post that on another blogpost.
Open 'http://localhost:5601' in a browser and try it out.
